This article will explain how to expose your content to specific stores or Brand Reps/Admins by creating Visibility Groups.
Normally, the content you release on SellPro is exposed by Retailer and all stores and users within that retailer will have access to that content. However, there are cases where you may want to deploy exclusive content only to specific stores or specific Brand Reps or Brand Admins. When this happens, you can create Visibility Groups by either Store or by User.
- To learn how to assign visibility by Store and User Groups to your content, please see this article.
- Are you a Retailer? Take a look at this article on how visibility groups work for you.
What are Visibility Groups?
Visibility Groups are custom lists you create that allow you to assign content visibility by specific stores or specific Brand Reps or Brand Admins. You can create and manage unique groups, and assign content only to those groups.
There are two types of visibility groups:
- User Group: As a brand, your users are your brand's Brand Reps and Admins. For the remainder of this article, we will call these Users. You can create a group(s) for Brand Reps and Admins.
- Store Group: You can create a group(s) by selecting a specific store or a number of stores from your list of retailers.
Where can Visibility Groups be used?
Visibility Groups can be assigned to the following SellPro content:
- Courses
- Insight surveys
- Reference Library and Toolbox files
- Campaigns
How to create a Visibility Group
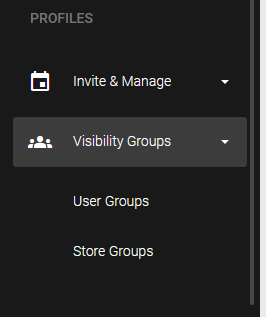
- From the OMS sidebar, select Visibility Groups under the PROFILES menu section.
- Select the group type: User Groups, or Store Groups.
How to Create a User Group
-
- Select NEW USER GROUP
 at the top right.
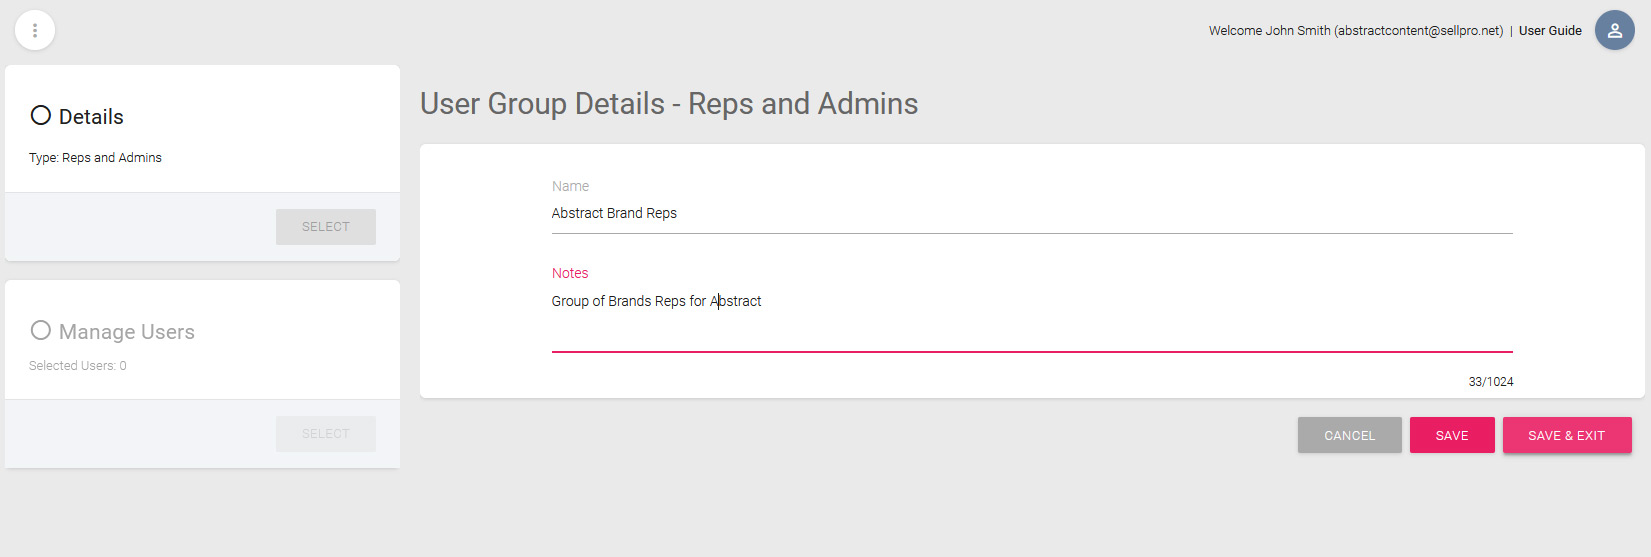
 - Enter the desired name for your user group. The title should be descriptive and easy to find when building your content. You may have a large list of groups that you have to navigate when attaching a visibility group, so don't use vague or repetitive group titles.
- Select the Brand to associate with the group. You can also add specific notes related to the group (i.e. group details, scope, etc.) Note: this only applies if your brand has sub-brands.
- Select SAVE and EXIT
 .
.
- Once the group is created, you can use the blue EDIT
 button next to the group in the User Groups list to make any changes to the group. You can add more users, and remove existing users.
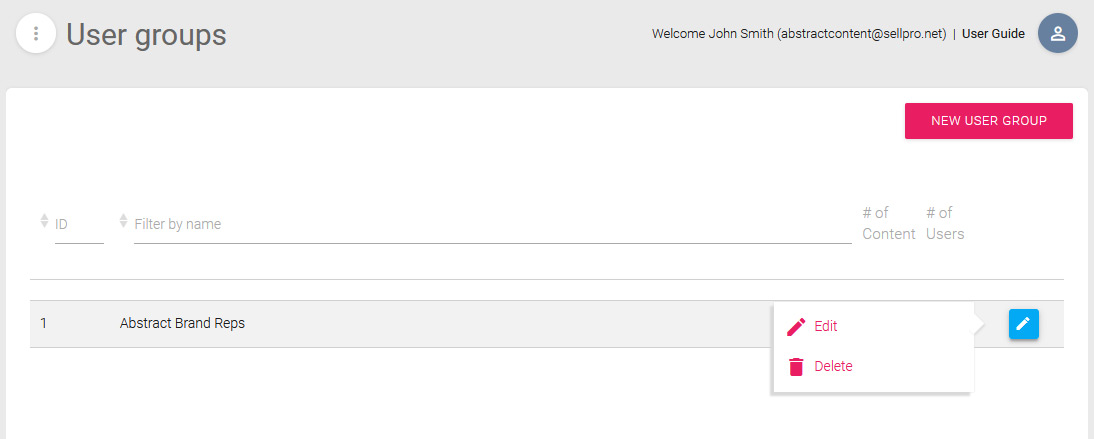
- Select NEW USER GROUP
Note: Once you have created a group, you will be unable to change the Brand assigned to that group. If you want to change the Brand, you will need to delete the existing group, create a new group and assign the desired brand.
How to create a Store Group
-
- Select NEW STORE GROUP
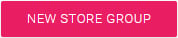 at the top right.
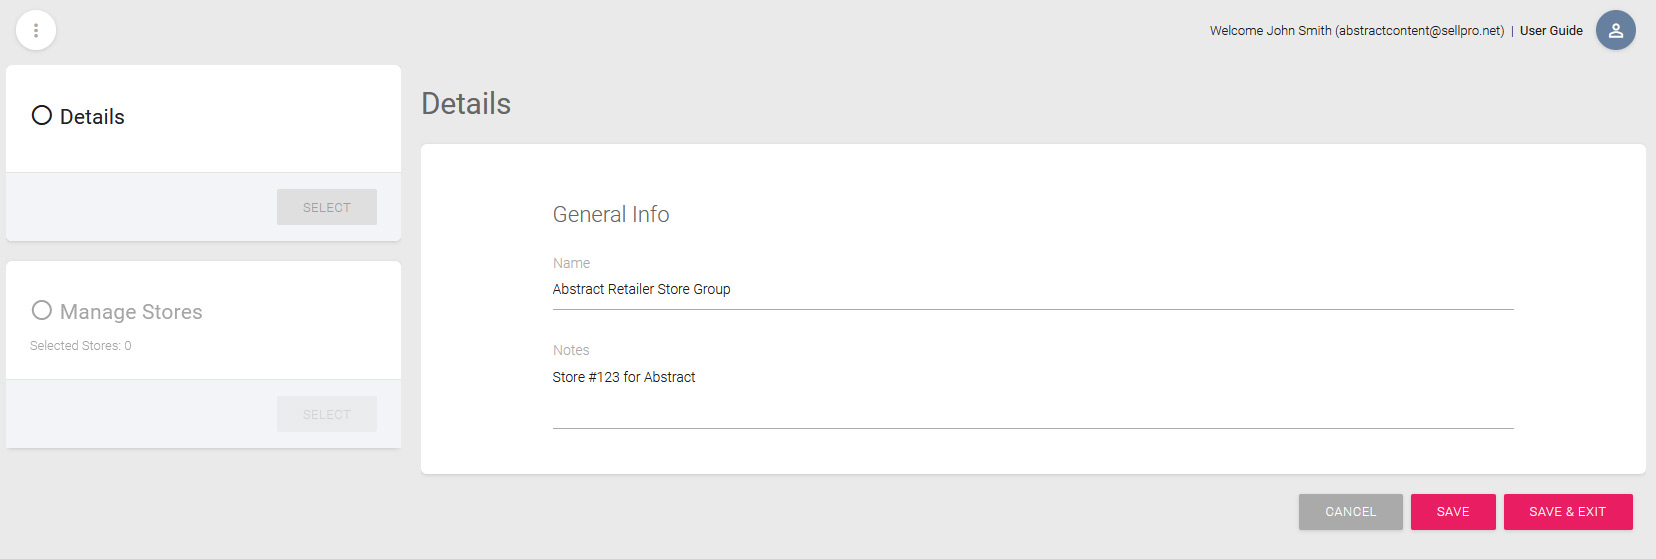
 - Enter the desired name for your group. The title should be descriptive and easy to find when building your content. You may have a large list of groups that you have to navigate when attaching a visibility group, so don't use vague or repetitive group titles.
- Select the Brand to associate with the group. You can also add specific notes related to the group (i.e. group details, scope, etc.).
- Select SAVE and EXIT .
- Select NEW STORE GROUP
-
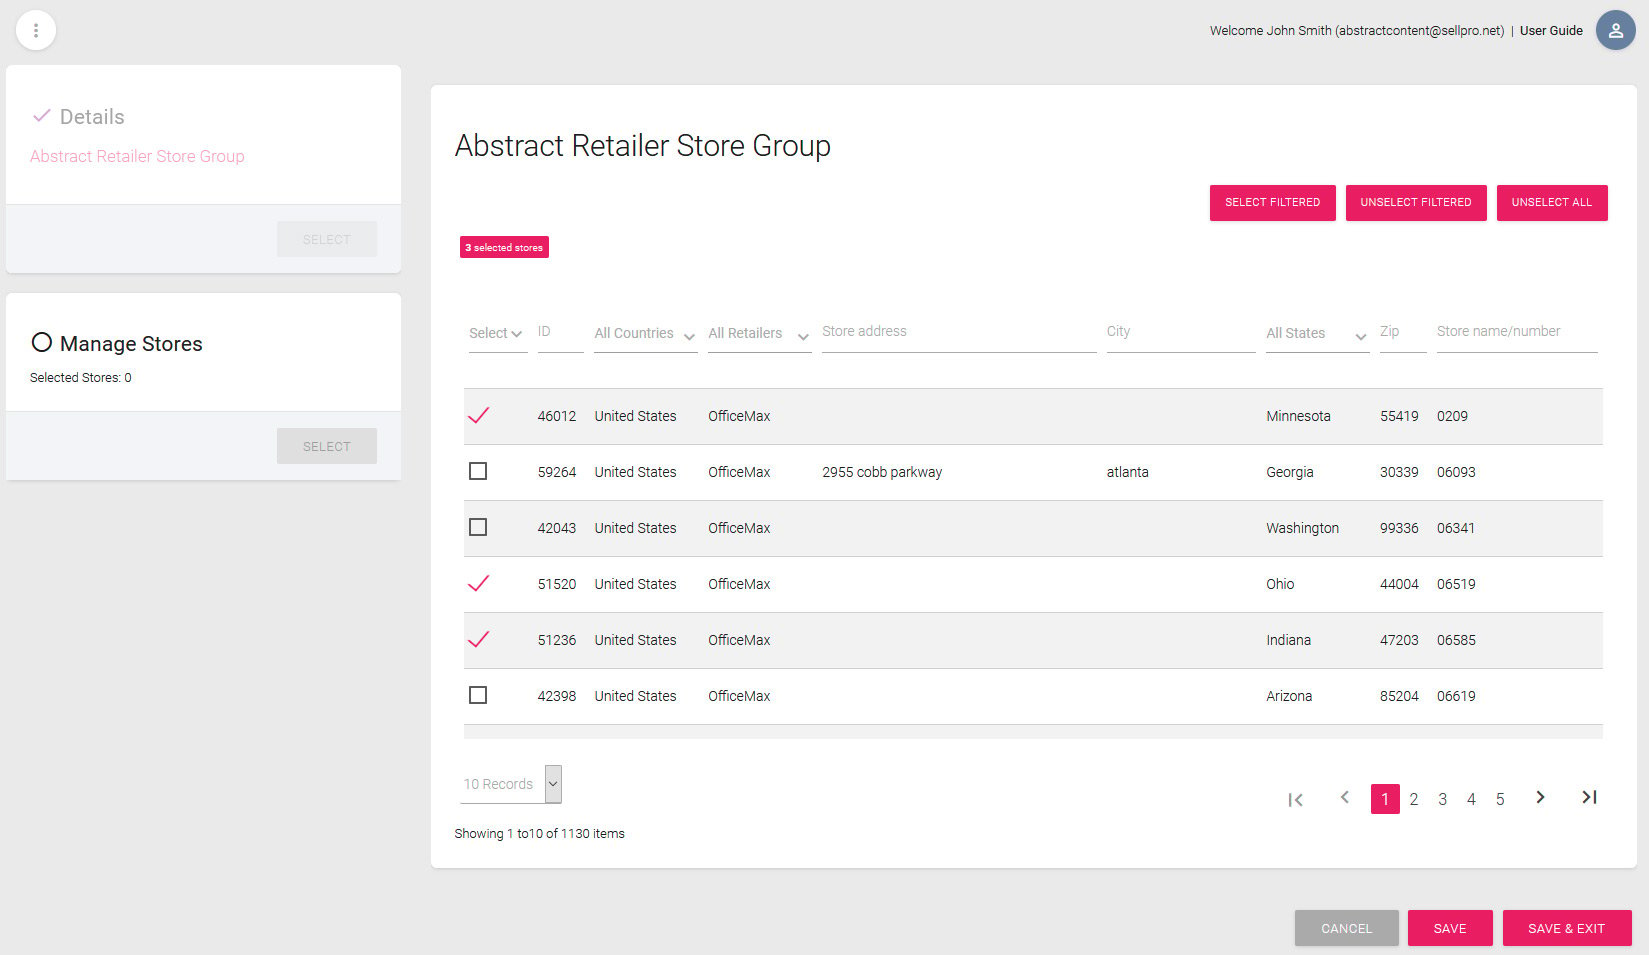
- Select the MANAGE STORES tab. By default, you will see a list of all stores from the retailers that are assigned to the Brand you selected under Details. From here, you can individually filter and select those you want in the group.
-
- Once the group is created, you can use the blue EDIT button to make any changes to the group. You can add more stores, and remove existing stores.
- Once the group is created, you can use the blue EDIT
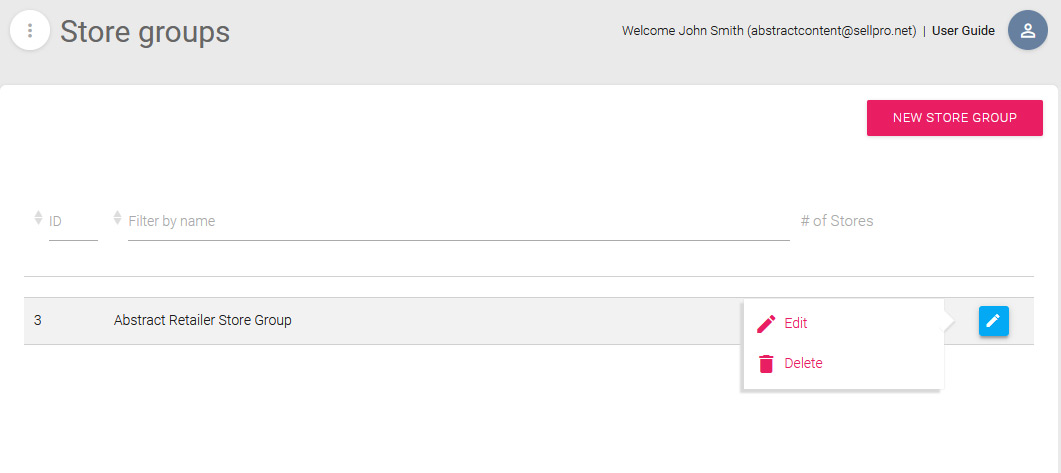
NOTE: If you do not see the Visibility Groups section in your OMS menu, please contact your SellPro Client Service manager.