How do I create Virtual Events (Webinars) in SellPro's OMS?
Schedule and manage all your Virtual Events in a matter of minutes using SellPro's Online Management System. Invite users, manage check-ins and distribute awards, all in one easy-to-use interface.
Click/tap the thumbnail above to watch the video of this tutorial.
1. Getting Started
Virtual Events are online webinars that are conducted through the SellPro platform. Users can see, register for and join virtual events all right inside the SellPro app.
Log into the SellPro Online Management System (OMS), and look for EVENTS in the sidebar.
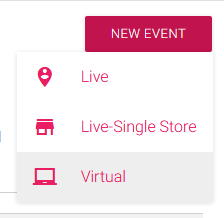
To create a new Event, select NEW EVENT ![]() .
.
There are three different types of events:
![]() — Live. This is for state or nationwide events that take place at multiple actual locations. Requires physical attendance by attendees.
— Live. This is for state or nationwide events that take place at multiple actual locations. Requires physical attendance by attendees.
![]() — Live-Single Store. This is for a physical event that takes place at only one location. Requires physical attendance by attendees.
— Live-Single Store. This is for a physical event that takes place at only one location. Requires physical attendance by attendees.
![]() — Virtual. This option is for virtual events or webinars that take place online. Attendees join the event by using a webcasting service URL you provide.
— Virtual. This option is for virtual events or webinars that take place online. Attendees join the event by using a webcasting service URL you provide.
This tutorial will follow the procedure for creating a Virtual Event.
Note: Event Approvers vs. Event Hosts
There are two types of OMS users who manage Events: Event Approvers and Event Hosts. Both can set up Events, invite users, manage Event registrations and select award winners. Event Approvers have additional permission to review and approve or bounce Events that are submitted by anyone on their team. Event Hosts don't have approval permissions, they must submit Events for review by an Event Approver.
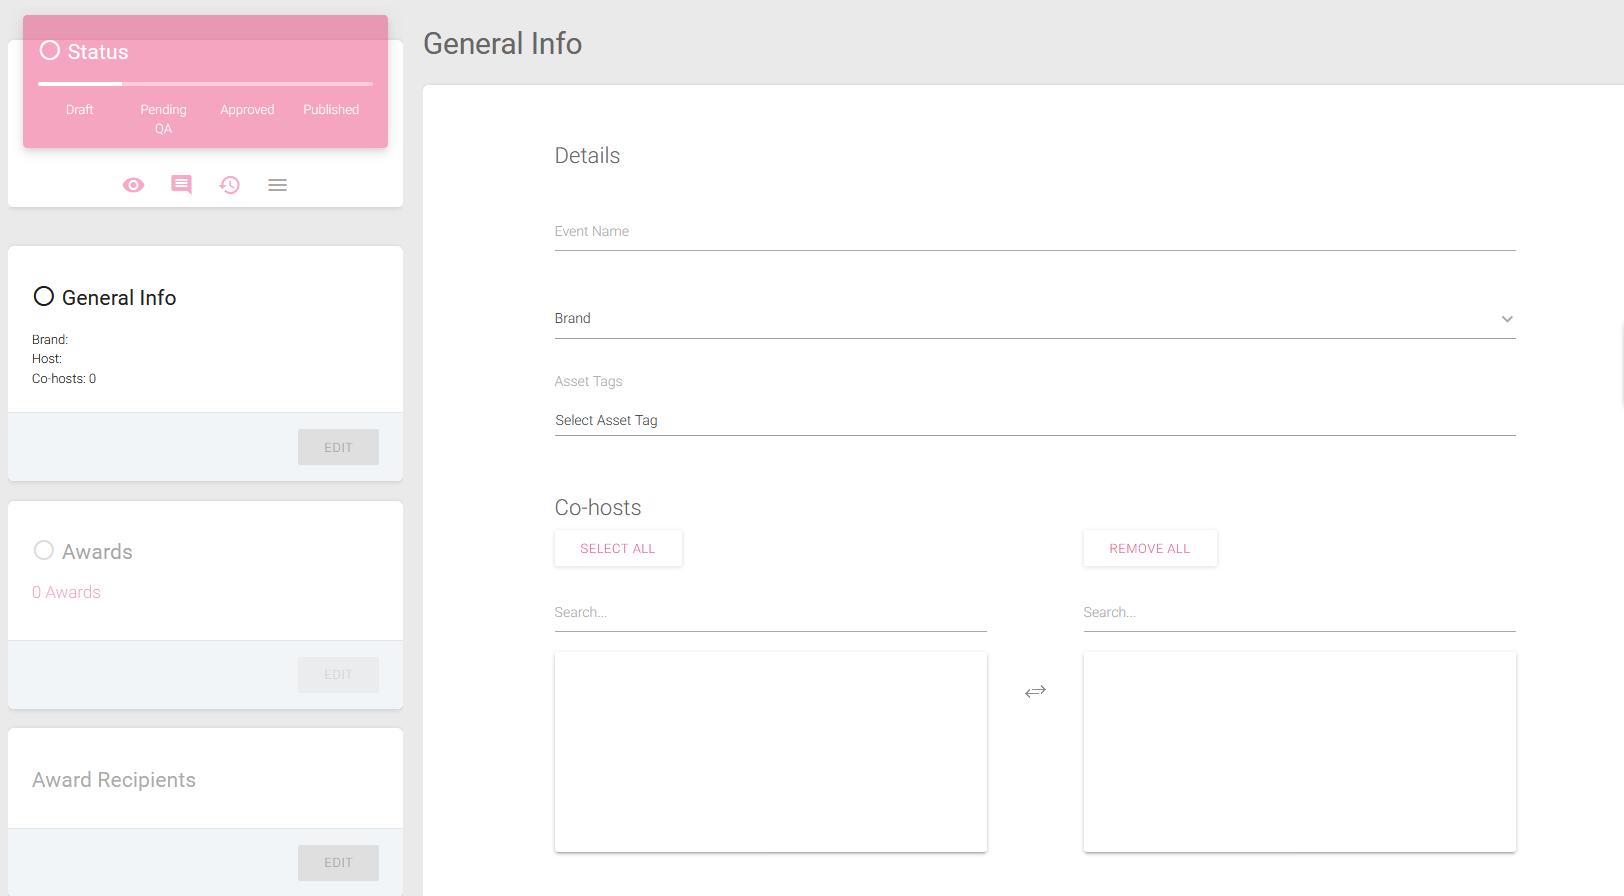
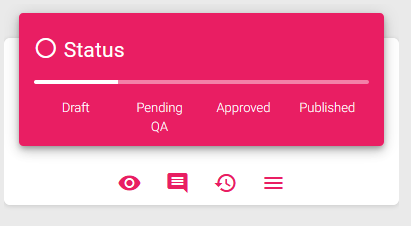
The OMS Event builder interface works in pretty much the same way as the Course builder, just with different steps. It has the same status bar, and similar options like Preview, Notes and Activity Log.
The Event creation screen (above). The Status Bar (below) and Content Steps are along the left side of the screen.
The Event builder is optimized to set up and publish events quickly, so it will be helpful to plan your event agenda and have all the information you'll need to set up the event ahead of time. If you want to schedule multiple time slots for a single Event Topic in the same day, then a new Virtual Event needs to be created for each time slot. So, having all this information up front before creating the events in OMS will make the process much faster and easier.
2. Event Details
Begin by entering the event title, then select your brand.
Co-hosts. Select who will be responsible for hosting and managing the event on the day it takes place. This person would be the Event Host for whom the Event Approver is setting the event up.
Select the Event Host(s) in charge of managing the Virtual Event.
Event Exposure. This option determines the overall event visibility. Public allows you to manage exposure by retailer, and SellPro users will see it in the app. Private removes the event from public visibility in the app, and attendees must be invited manually using Event invites sent by email address.
Event Description / Teaser. These appear on the Event invite in the SellPro app for users to see. Use the description field to clearly describe what the event is about. The Teaser field can be used to highlight interesting information about the event, like introducing the awards they're eligible to earn for attending, for example.
Event Attendance Code: Select this option to generate a unique code for all event attendees. Participants can input this code after attending the virtual event, ensuring their attendance is recorded automatically. By doing so, they become eligible for any event and/or campaign awards.

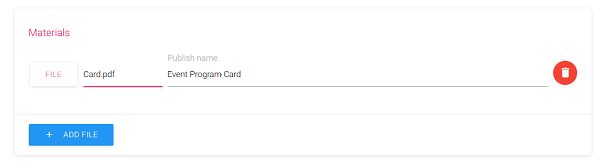
Materials. Provide users with additional content you may have about the event. You can attach PDF, text files, images or video, and the user will be able to view them from the event invite.
Max Occupancy. Depending on the webinar platform being used, there may be a limit to the number of people who can join the event at the same time. We recommend that you use the maximum your provider allows.
National Event. This is checked by default. This option exposes the event to all states and/or provinces within the selected Country. Uncheck this option only if you want attendees from a local zip code.
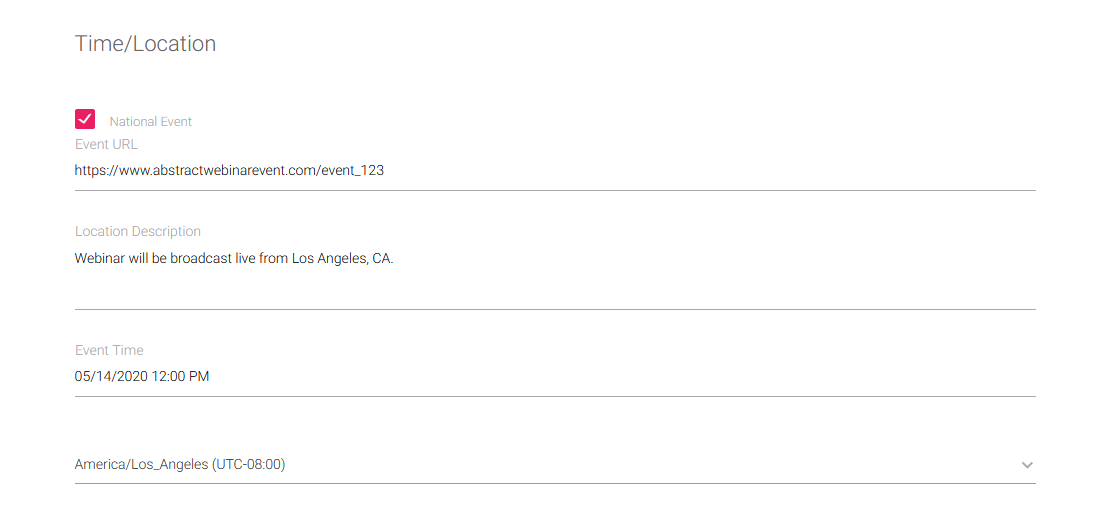
Event URL. Enter the URL you will be using to host the event. Users will need this link to join when it's time. If the webinar URL has not been set up yet, you can enter a placeholder and change it later once the URL has been set up.
Virtual Events work with many different webinar services, like Webinar Ninja, Crowdcast, and Xoom. It's best to use a service that doesn't require any additional setup for the event attendees, and can be launched directly from the Event URL.
Event Time & Time Zone. Set the time you want the event to occur. Use the date picker to set the day and time of the event. In order to set the Time Zone, you have to have already selected the Country.
Set the Time Zone to the location from where the event will be broadcast. This way, if SellPro users from other time zones wish to attend this time slot, the time will automatically adjust for their location when they see the event in the app.
In-App Visibility. If the Event Exposure has been set to Public, then this section will be visible. Select all of the retailers you want your event to be exposed to.
Setting Event Exposure to Public provides access to the In-App Visibility section.
3. Attaching Event Awards
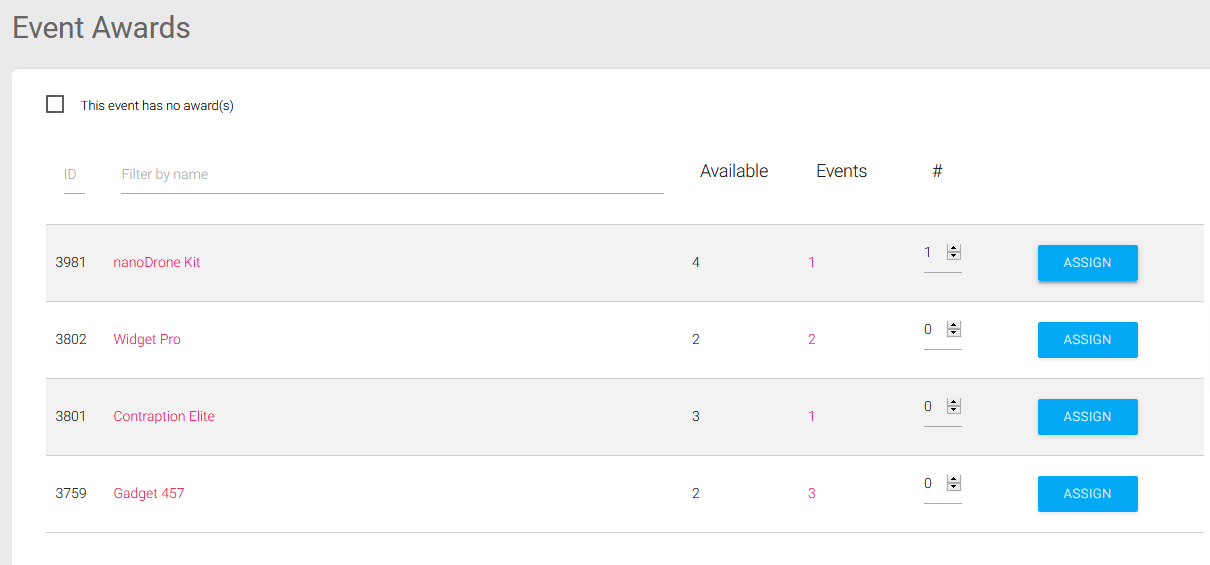
Just like with Courses, you must have already created some Event awards in the OMS and assigned inventory to them. You can create Events Awards by going to Event Awards in the sidebar.
Go the award in the list that you want to attach, then enter the total quantity of awards you want to award during the event, then select ASSIGN ![]() .
.
Once you've attached your desired awards, select SAVE & EXIT ![]() .
.
4. Event Preview and Approval
After entering Event details and attaching Awards, the Event is ready to be reviewed.
You don't need to worry about the Award Recipient and Invites & Stats steps yet. These will be used after the Event has been Published.
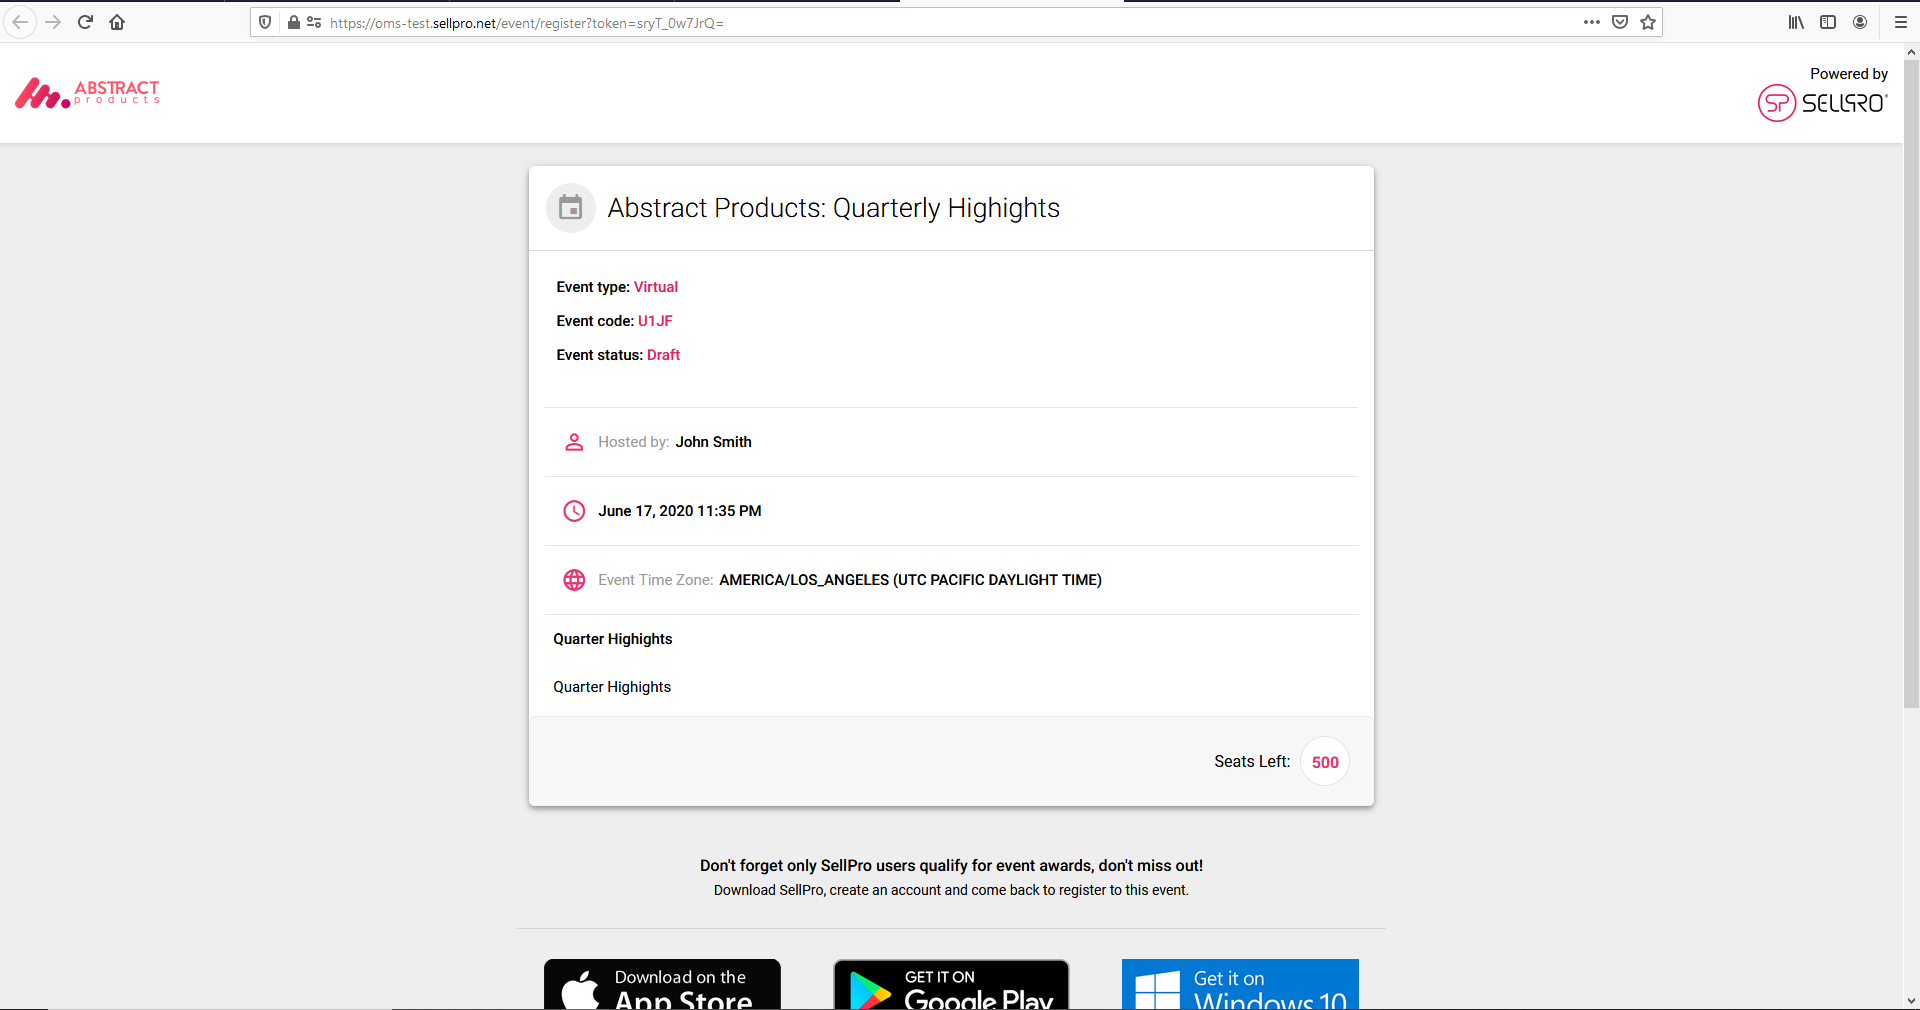
Before submitting the event for approval, use BROWSER PREVIEWto check how the online registration link will appear when SellPro users see it.
The browser preview of the Event registration, as it would appear to the user.
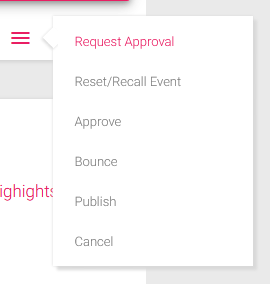
Once you're satisfied with the browser preview, the next step is to Request Approval.
In the case of an Event Host, after selecting Request Approval, the Event Approvers on their team are notified by email that the Event has been submitted for review. The Event Host will then need to wait until one of the Event Approvers from their team reviews and either approves or bounces the Event. The Event Host will receive an email after the Approver has reviewed and made their decision. If approved, the Host can then Publish the event. If bounced, the Host is provided the reasons as to why the Event was bounced, upon which the Host has the opportunity to correct the issues and resubmit for approval.
If the Event is created by an Event Approver, they can select Request Approval, then immediately Approve and Publish the Event without waiting for the review process.
Reset/Recall Event is used in the case where an Event has been submitted for Approval, but must be withdrawn for some reason, such as to make corrections to the content. This option sends the Event back into Draft mode, where any changes can be made. The event can then be resubmitted when it's ready.
Once the Event has been approved, use Publish to make the Event go live in the app. It will be visible to SellPro users and they can begin registering right away.
Cancel can only be used after the Event has been Published. This option will remove the Event from the app. It will still remain in the Events List in the OMS, but its status can no longer be changed and any awards that were assigned to the event will be removed.
If you wish to re-publish a cancelled event, you must use COPY ![]() from the Events List to make a draft duplicate of the Event, edit the details of the copied Event as needed, then Request Approval.
from the Events List to make a draft duplicate of the Event, edit the details of the copied Event as needed, then Request Approval.
5. Inviting Users and Event Management
After the Event has been published, you can access the Invites and Stats step.
When users start registering for the event, they will appear in this list, categorized by retailer.
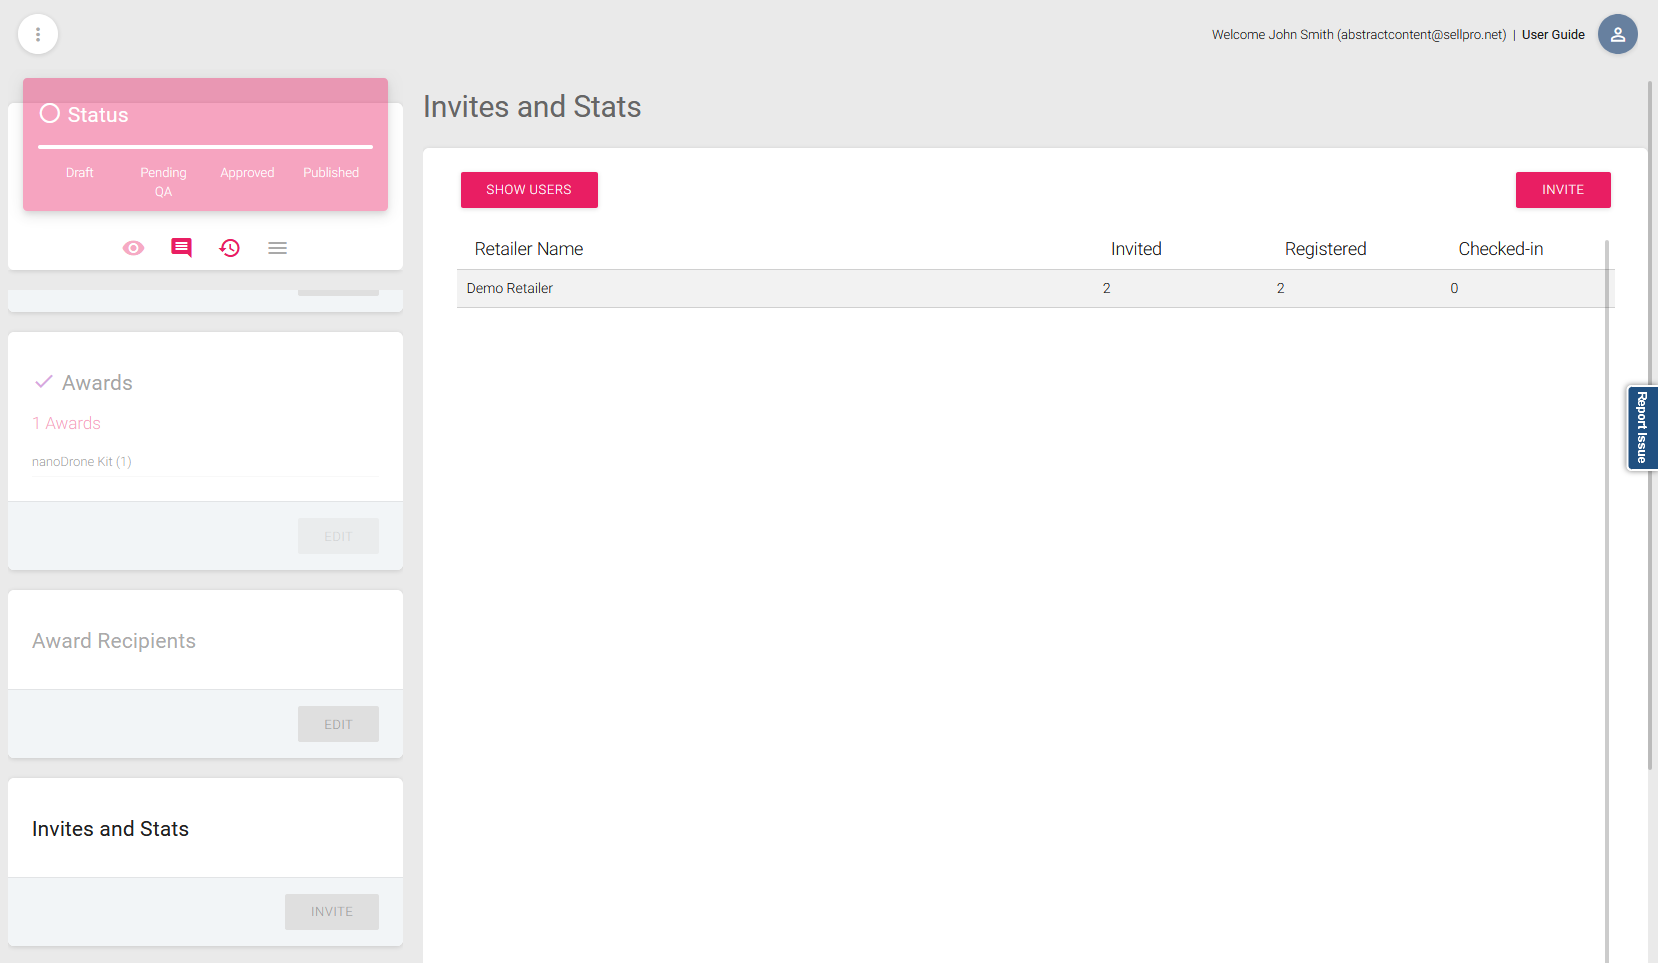
Here, you can see all of the users who have been invited and have registered for your Event, as well as those who have checked in during the course of the Event.
To see a more detailed view of registered users, select SHOW USERS ![]() .
.
Attendees can also be invited manually using INVITE ![]() . This a great option to use if you have email contacts for retail personnel who don't yet have SellPro accounts but want them to participate in the event.
. This a great option to use if you have email contacts for retail personnel who don't yet have SellPro accounts but want them to participate in the event.
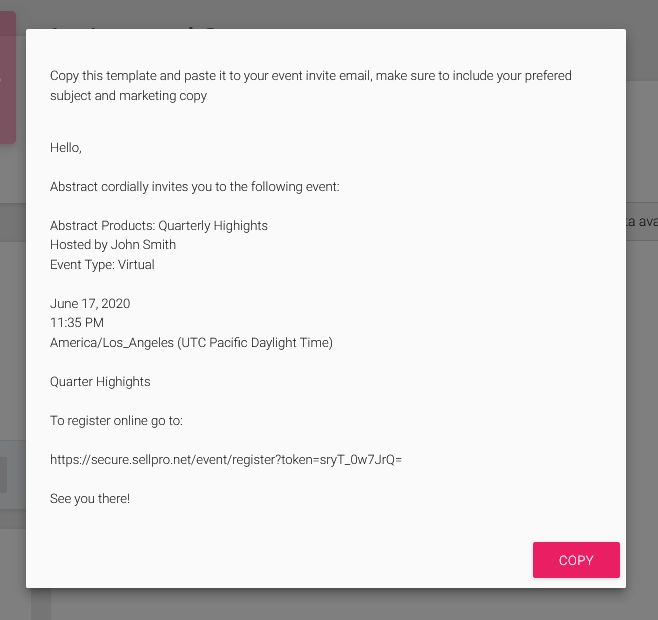
An invite email template is generated for you. Use COPY ![]() to copy the text and paste it into your email client. You can customize the invite in any way that you like, then send it through your email address to your designated list of invitees.
to copy the text and paste it into your email client. You can customize the invite in any way that you like, then send it through your email address to your designated list of invitees.
Important: When editing your invite template, do not the change or remove important details like the event date and time, or the event registration link.
Users who receive the email invite can use the Event URL provided in the email to register for the Event.
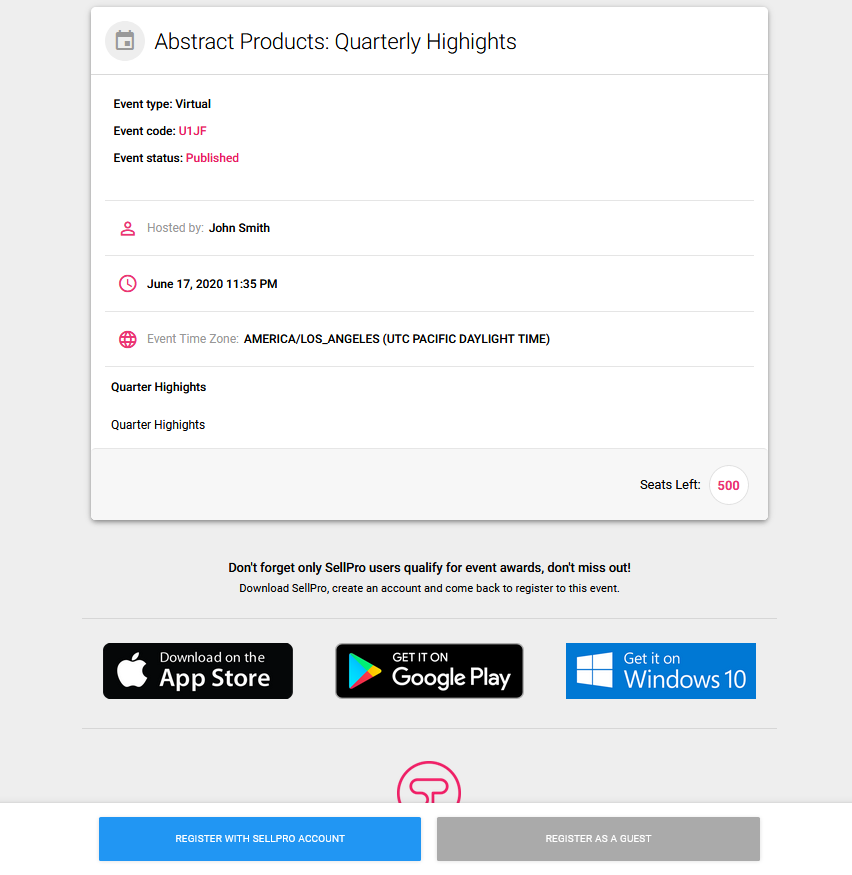
If they already have a SellPro account, they can log in and register for the event through their account. If they don't have a SellPro account, then they can register for and attend the event as a guest. They will also have the opportunity to create a SellPro account at the same time.
When it's time for the Event to start, log into the webinar service used to host the Event and launch it. SellPro users will be notified via push notification one hour before the Event begins.
Not only can you use the OMS to manage registrations and check-ins, you can also do it directly in the SellPro app by logging into your Brand Administrator account, going to My Events, and selecting the event you want to manage.
6. Award Recipients
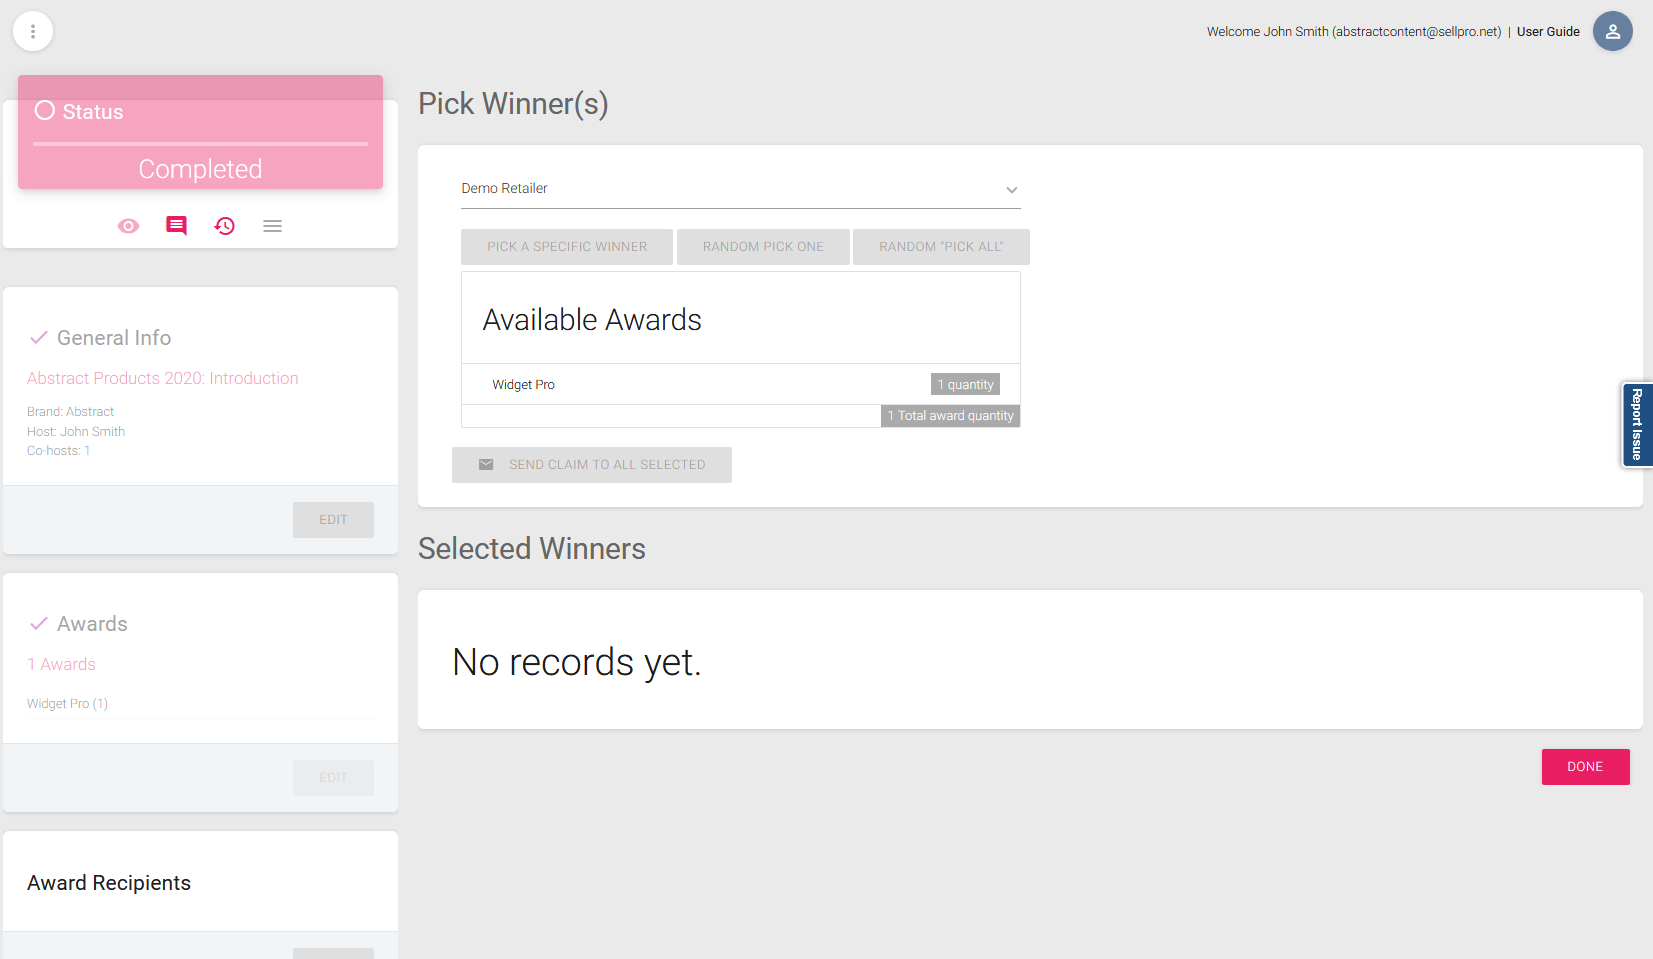
The Award Recipients step is where you select the winners to receive the awards that were assigned to the Event.
All of the users who checked-in will be available to select from the list.You can filter users by selecting a specific retailer. You can award in one of three ways:
Pick a specific winner. Select the user manually.
Random Pick One. The system will randomly select a user to receive one of the available quantity of an award.
Random Pick All. The system will randomly select a user for each one of the available quantity of every available award. For example, if there are 2 awards, and each has a quantity of 5 available, this option will randomly select and assign awards to a total of 10 different users.
While you can access the Awards Recipient step at any time before or during the Event, you will not be able to assign any awards until after the Event has concluded.
The Awards Recipient step is used to assign the Event Awards after the Event has concluded.
Helpful hint: If you have multiple time slots for the same Event, you can quickly create a duplicate of the first Event by selecting COPY from the Events List next to the Event you wish to duplicate. This option will create a copy of the Event with the details already filled in. Just update the time, location and other time slot-sensitive information as needed, and you're ready to Request Approval.
7. Best Practices
- It is recommended to create only one Event Award per event topic, not for each topic time slot. For example, if you plan to host an event that covers a single topic or subject, and you want to present this event at 3 different times throughout the day, then create only one award and assign a total of 3 for the award quantity. This way, if a SellPro user attends more than one of this topic's time slots, they will have the opportunity to earn the award only once.
- When creating an Event Award, include the event topic title in the Award name. This will make is easier to filter, locate and select the proper Award from the Award list when attaching it to the desired event.
- e.g.: $10 Starbucks eGift Card (New Inspiron 7000 2-in-1- Premium Build events)
Want to learn more about how to use SellPro's Online Management System to create awesome training and brand awareness content for retail personnel? Check out more articles in the SellPro Client Guide.
Was this article helpful?